Setting up screens
A screen is a display with nothing to operate: a TV, a tablet, or an old monitor on a small PC. OpenEOS knows two kinds:
| Kind | Where it stands | What it shows |
|---|---|---|
| Customer display | facing the guest, beside the till | the till's basket as it fills |
| Kitchen or bar screen | in the kitchen or behind the bar | open orders for that station |
Both need only a browser and power. No keyboard, no credentials, nothing to install.
Connecting a screen
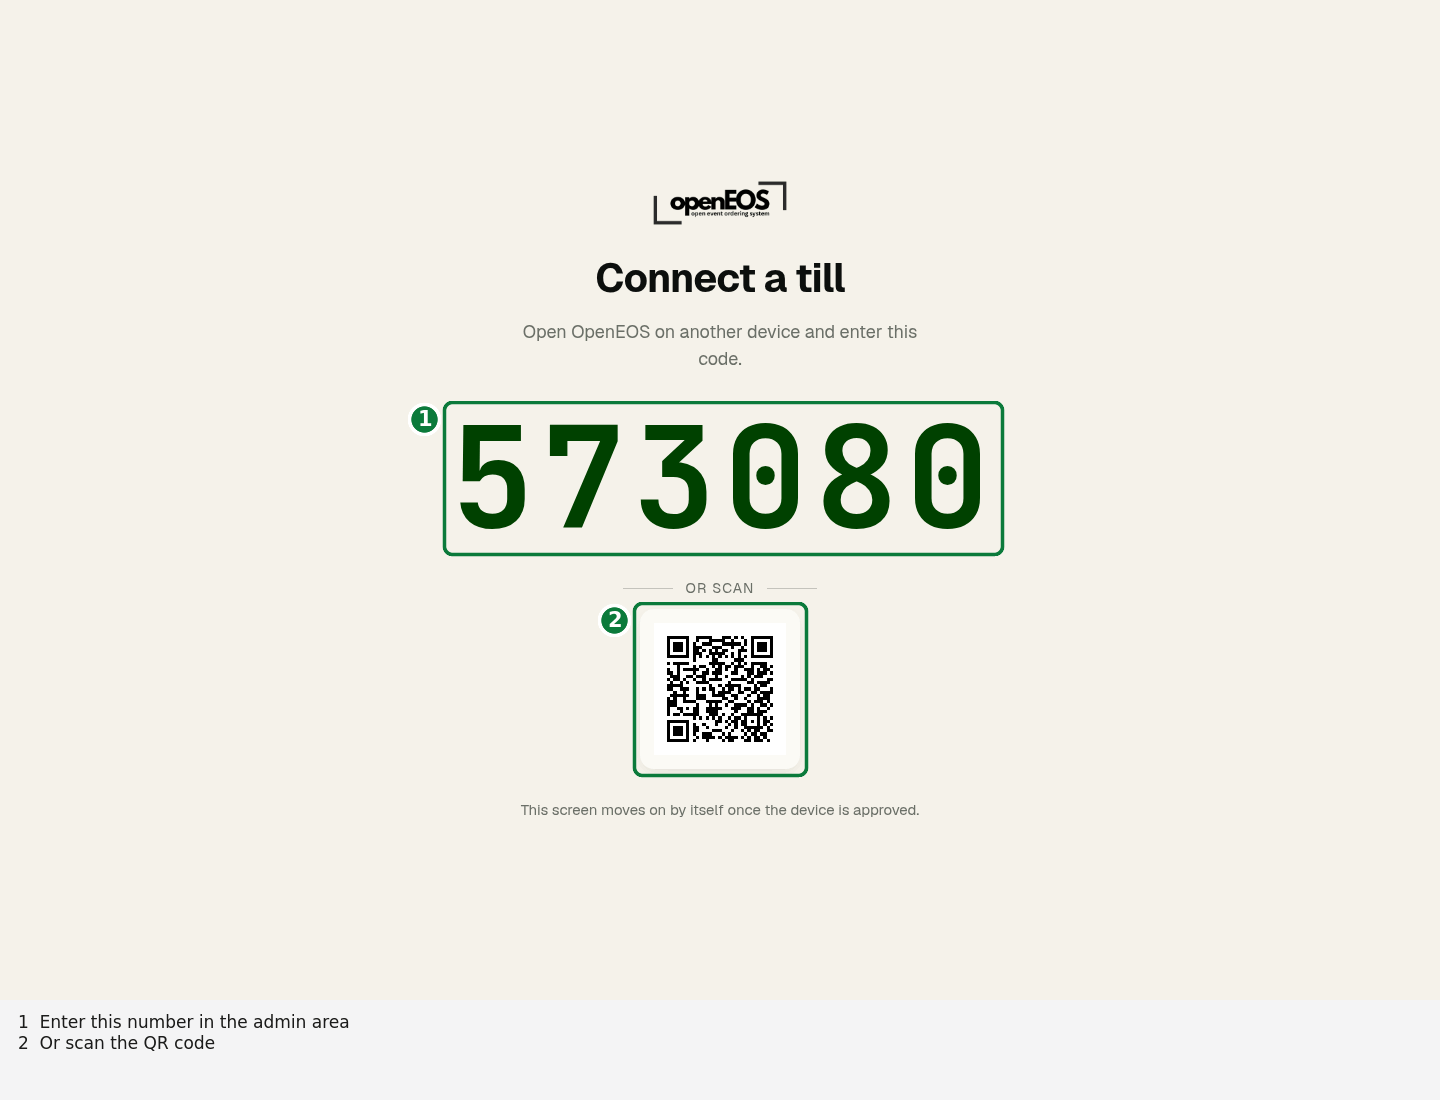
The route is the same as for a till — the device shows a number, and you link it from your account.
- On the screen, open app.openeos.de and choose Use as display (monitor) at the bottom.
- The screen shows a six-digit number in one piece with a QR code beneath it.
- On another device, sign in to OpenEOS, go to Devices and click Connect device in the Register New Device card.
- Enter the number. With a phone to hand, scan the QR code instead.
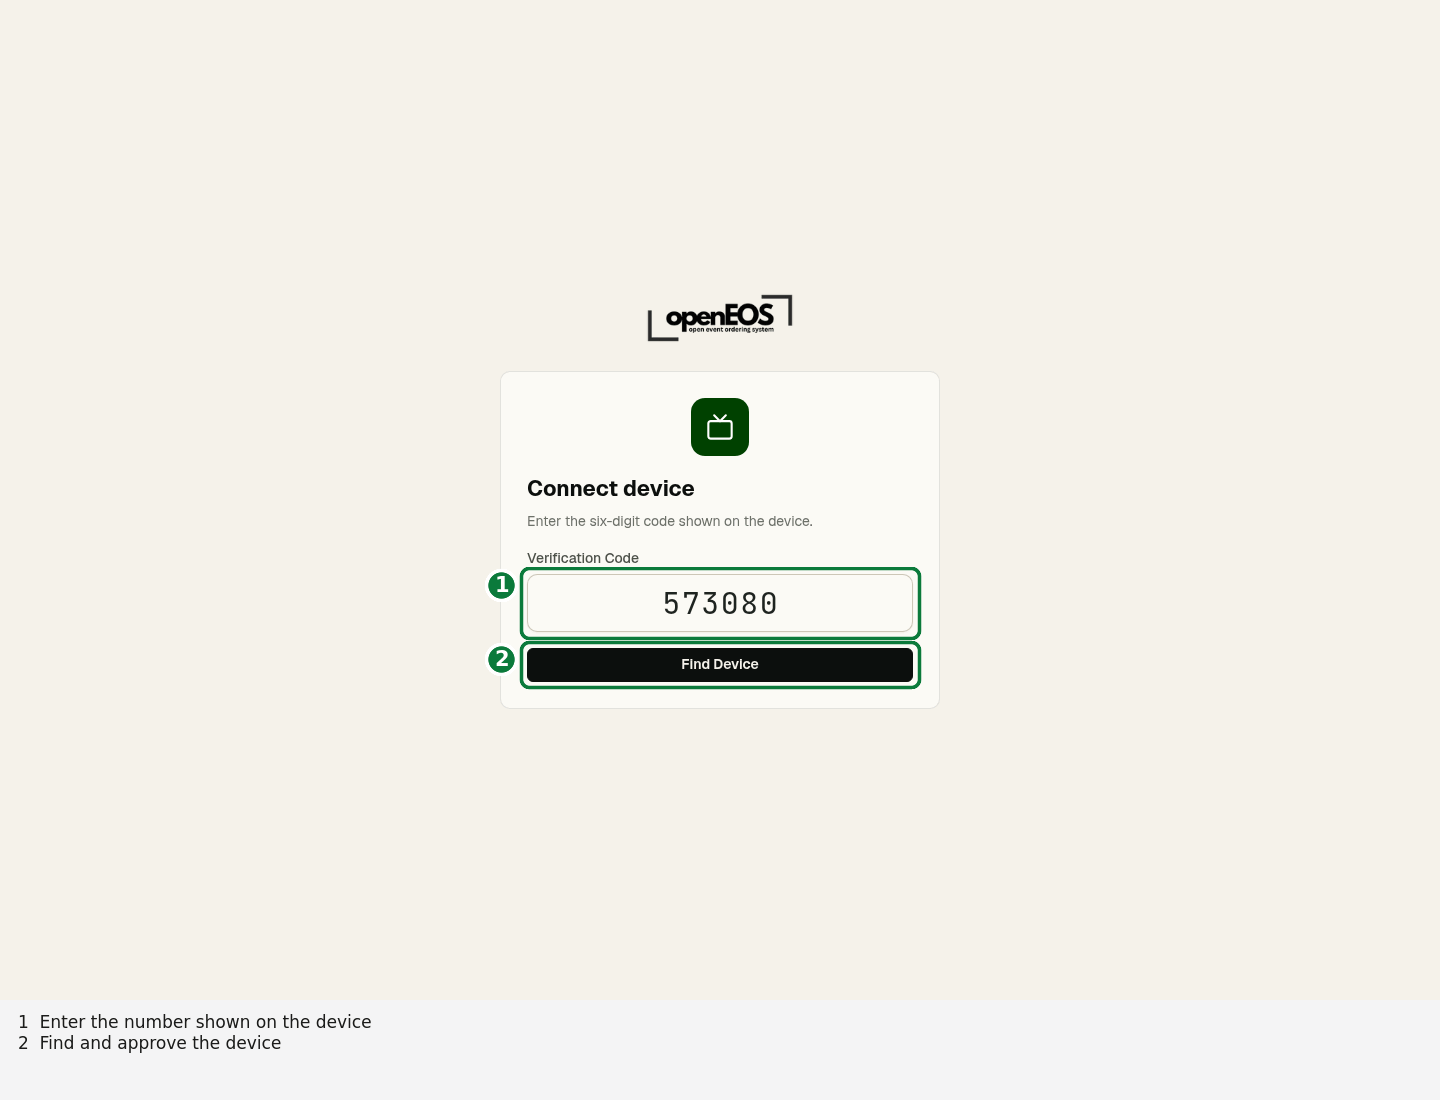
- Give it a name (Kitchen or North bar, say) and choose the kind of screen.
The screen then switches over by itself. Nothing more to do on it.
A TV rarely has a keyboard attached, and nobody on site remembers the organization's short name. A number can be read from across the room and typed in — that is all it takes.
Choosing how it looks
Every screen is set up on its own: Devices → click the screen → Settings. In the Display group you choose the Display mode. Right below it appears what belongs to it:
- Customer display — the POS device whose cart is shown.
- Station display — the Station from the active event and Clear completed: after 10, 30 or 60 seconds, or Keep on screen.
Which till or station is assigned is also shown in the device's Overview, in the Linked to or Station tile. Below comes the Appearance & content group:
| Setting | Effect |
|---|---|
| Colour scheme | Dark for an evening marquee, Light in daylight, By time of day switches on its own |
| Text size | Large for monitors hung further away |
| Header | Your own text in the header; left empty, it shows your organization's name |
| Idle message | What stands there when nothing is happening, e.g. "Welcome!" |
| Show logo | Shows or hides the organization logo in the header |
Save applies the settings. Changes appear on the screen straight away. No need to walk over, nothing to reload.
The customer display in use
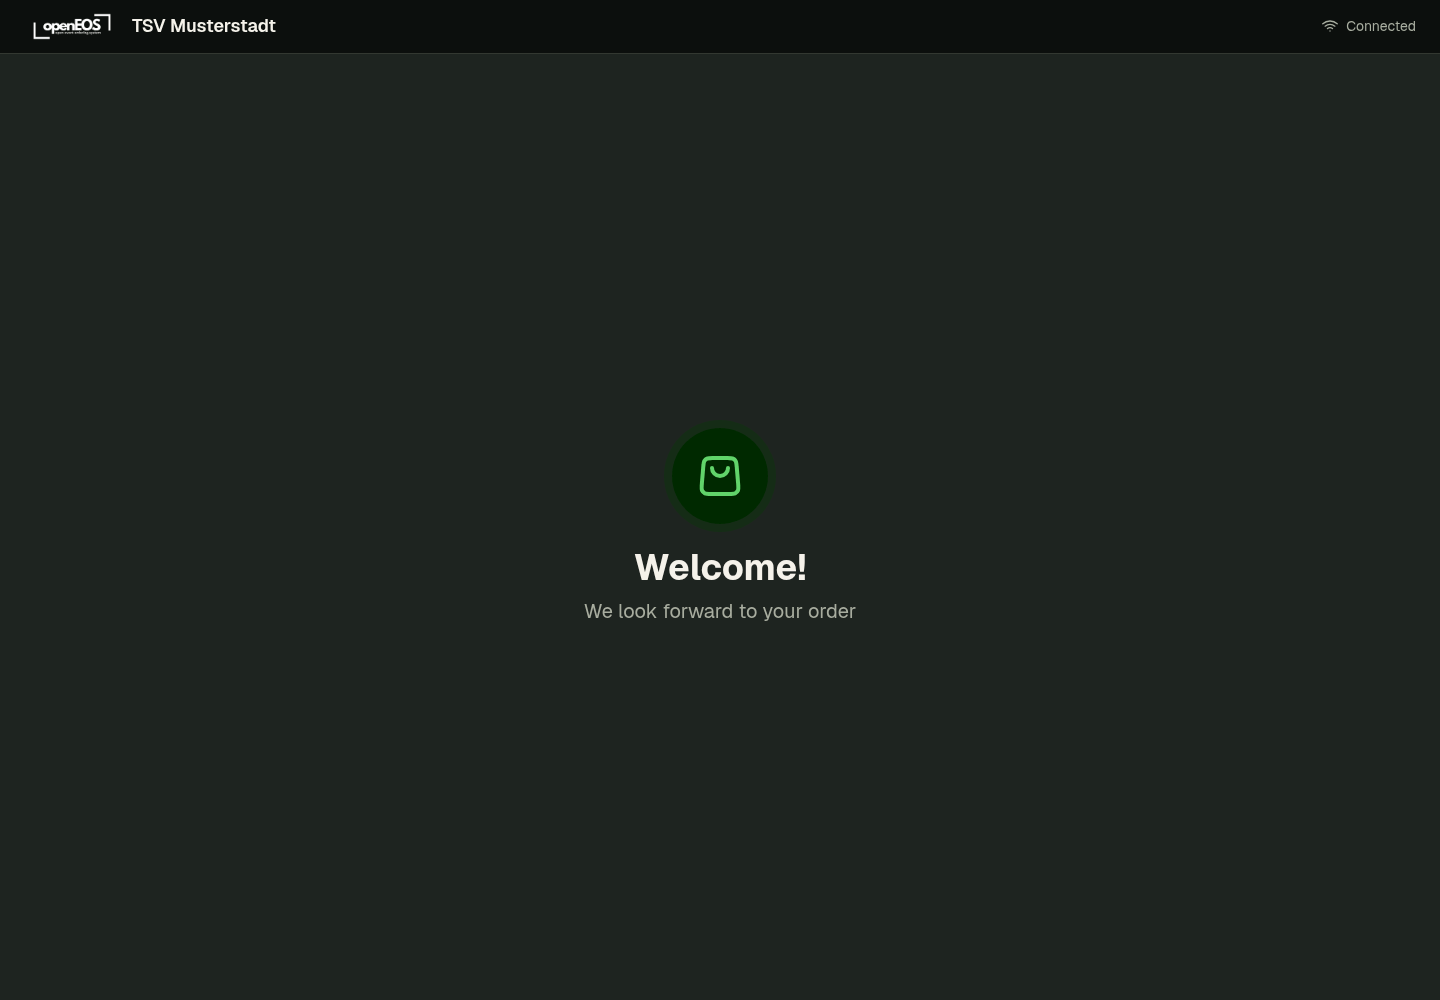
While nothing is being rung up, the idle message stands there. As soon as a product is added at the paired till, the basket appears with lines and total — the guest reads along. After payment the screen returns to idle.
The kitchen and bar screen in use
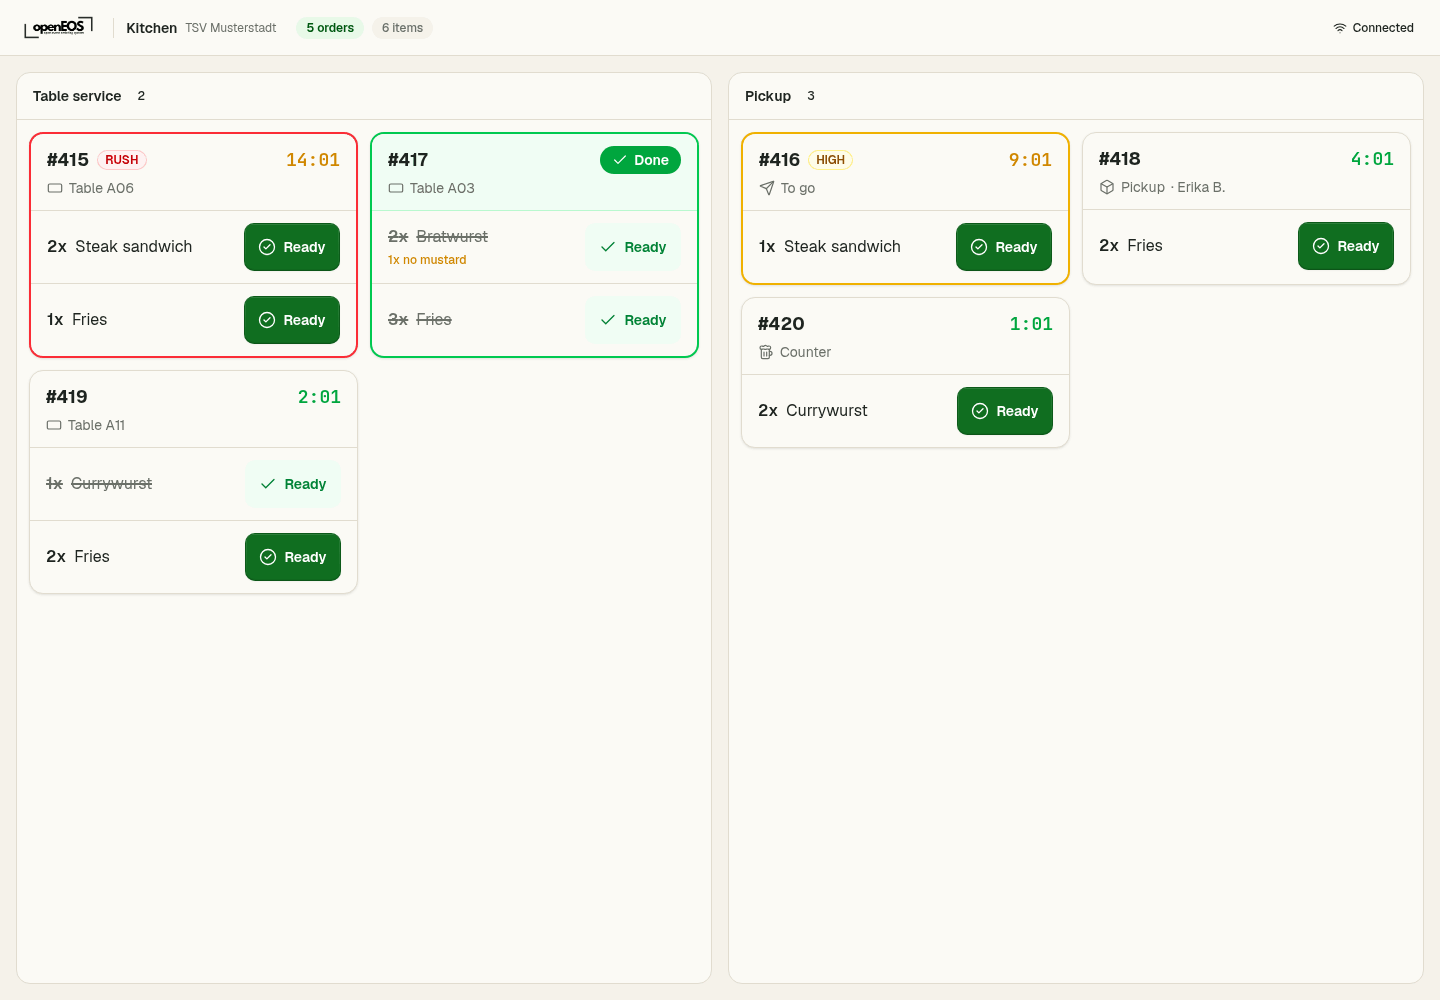
New orders appear as soon as they are paid for. Only what concerns that station is shown — the kitchen does not see drinks if those belong to the bar. Which product belongs to which station is set under Stations.
Orders are shown in two columns: Table service and Pickup. Every card has the same layout: at the top the number, Rush or High if needed, and how long the order has been waiting; below that, where it goes — Table A11, Pickup, To go or Counter, plus the guest's name if there is one. Then come the items with their notes.
On a touchscreen the kitchen taps Ready on each item as soon as it can go out:
- The item is ticked off and struck through at once; only that item briefly waits for confirmation, the others stay usable.
- Once all items on a card are ready, the card turns green and gets the Done badge.
- What happens next is set by Clear completed: after the configured time the card disappears. With Keep on screen it moves after five seconds into a dimmed Done area at the end of the column, where the last six stay visible.
- If marking an item ready fails, without a connection for example, a notice "Item not marked as ready" appears at the top. Just tap again.
Marking an item ready cannot be undone on the screen. Ready items show up at the till under Served.
Checking the connection
The top right corner says whether the screen is connected. Disconnected means it may still show old content but is receiving nothing new.
If that persists:
- Check the Wi-Fi and signal where the screen stands — by far the most common cause.
- Reload the page on the screen.
- Check under Devices that the screen is listed as approved.
Removing a screen
A screen can be removed under Devices. It falls back to pairing and shows a number again — which is how you pass on a borrowed tablet without passing on your data.